What is the Design Process from Start to Finish?

The Design Process
The design processes for every company are actually more similar to each other than you’d think. Each process generally follows the same set of steps across the board. When designing a website, there are quite a few things to consider: the client’s vision, your capabilities, and the cost of the service. To determine these things, we’ve put together the process we’ve used for the past 10 years from start to finish.
Step 1: Research the client. Once you or your agency has gotten a signed contract from the client, that gives you the go-ahead to get familiar with their brand. Granted, if you’re a freelancer, you’d have done at least a bit of this before discussing the terms of their contract. Researching the client means evaluating the current website if they have one, taking a look at their current logo, their colors, and their website features. You want to get a good feel of who they are and what they represent in order to make a website tailored to their business effectively.
Step 2: Get to know their target audience. Becoming familiar with the client’s target market will lay the groundwork for the type of website they should be going for. For example, if their demographic is mainly older people, this is helpful to the designer so they can make the necessary adjustments to the website to cater to those needs. This would entail something as simple as making the font slightly bigger than average so content is easier to read.
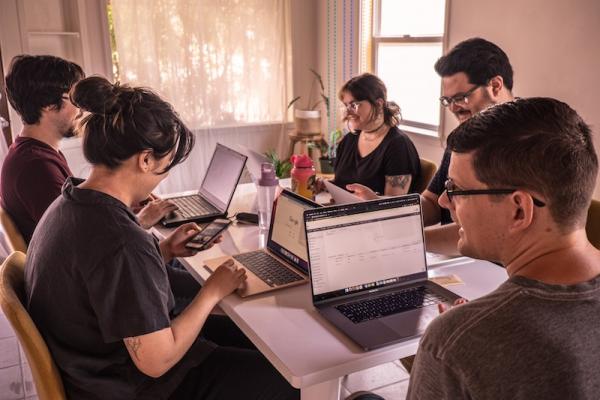
Step 3: Initial Meeting. This is when you have a physical or digital meeting face-to-face with your client. The purpose of this meeting is to have them talk about their business, their likes and dislikes, and any other elements they want you to know/include in their new site. During this stage it’s encouraged to get the client to bring up any websites they don’t like/do like. It’s important to discuss these particulars with your client to avoid any misunderstandings during the process.
Step 4: Create 3 Homepage Mockups. The homepage should reflect what the rest of the website will look like. Leaving it at 3 gives the client enough to work with and not too much to be overwhelmed with. Creating the homepage mockups before diving into inner pages gives the client an overall impression of what the rest of the website will look like prior to creating the inner pages. Including the inner pages with the first round of homepage mockups could mean a lot more work for the designer if the client wants to make big changes to the first round of mockups. Doing the homepage first cuts out a lot of time.
Step 5: Mockup Review Meeting. This is pretty self-explanatory. You and the client go over the mockups together and the client will then offer you their feedback. Once you go over mockups with the client, a few different things can happen. They can approve one of the mockups with little to no changes, request a conglomeration of elements from different mockups put into one, or request a full remake of the mockups altogether. In the case that revisions are needed, we move to step 6, but if the client picks a mockup and requires no changes we skip to step 7.
Step 6: Mockups Round 2. The designer presents another round of homepage mockups to the client. This can be done through email since the changes have already been discussed in round 1, but can also be done with the client. In some cases there will be a round 3 of mockups and the process is repeated until a design is finalized.
Step 7: Inner Page Mockups. Once homepage mockups are approved, the designer will then move forward and start on the inner pages of the website. These will reflect the components you created on the homepage to create a cohesive design.
Step 8: Inner Page Mockup Approval/Round 2. After finishing the inner page mockups usually we send them off to the client via email and wait for approval. Sometimes the client will request changes to which you’d repeat the process, but if not, that’s the last stage of the design process!
Conclusion
The design process is actually quite complicated once you hash out all of the details! Many people tend to underestimate how much time it takes to complete a full website design because they don’t understand just how much time and effort is put into creating a website. Hopefully by going over these steps, you can get a better understanding of the process and gauge how much you want to spend on a website while also determining how much time you want to put into creating a website that will further your business.